Achieving high sound quality in podcasting is essential for capturing and retaining your audience's attention. A properly set up microphone can greatly enhance audio clarity and boost the overall production value of your podcast. This guide will walk you through selecting and setting up a microphone to ensure the best sound quality, covering everything from choosing the right equipment to optimizing your recording environment and settings for the clearest, most professional-sounding results.
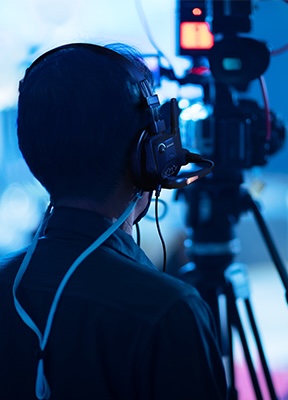
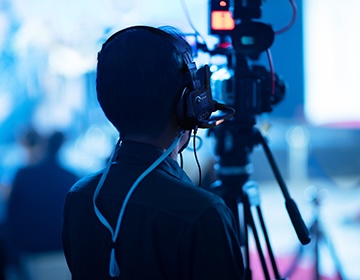
For podcasting, especially in terms of mobility and flexibility, using a wireless microphone system has major benefits. Perfect for dynamic recording settings or on-the-job interviews, wireless mics let you move freely without being shackled by cords. This independence will help your podcasts to flow and be more spontaneous, thereby giving listeners a more interesting experience.
Regarding sound quality, frequency response range is really important. From deep tones to sharp highs, a broad frequency response—between 20 Hz and 20 kHz—ensures that your microphone picks up the subtleties of your speech. Richer and more detailed audio recordings made possible by this width are vital for creating podcasts with professional quality. Choosing a microphone with a large frequency range guarantees that your material is immersive and clear, therefore increasing audience involvement.
In podcasting, achieving good sound quality usually calls for control of ambient noise. By filtering background noise with high-performance noise-canceling microphones, you can guarantee that your voice stays clear and targeted even in loud surroundings. Recording at home or in a crowded environment where outside noise might compromise the quality of your audio makes this function very helpful.
Good control of ambient noise and wind calls for the use of filters or windproof capsules. These parts are designed to reduce undesired noise interference from things like wind or adjacent activity, therefore preserving the quality of your recordings from otherwise degrading factors. Whether you decide to record your podcast somewhere, including these elements in your setup will help you to keep a professional and clean sound that improves the listening experience.

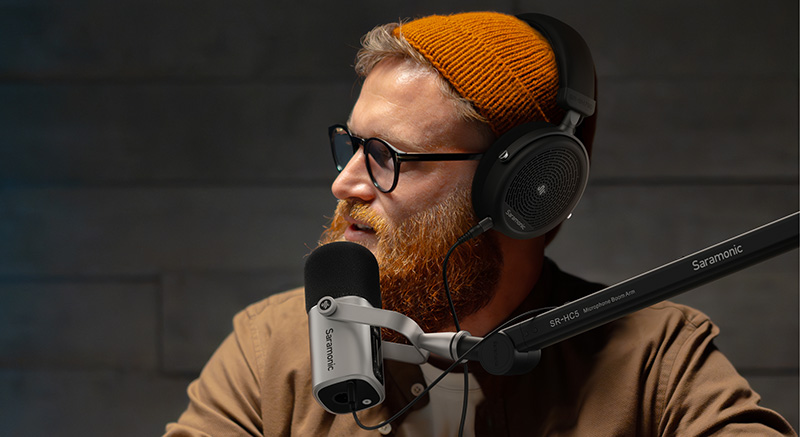
High-quality audio is captured mostly via correct microphone positioning. To guarantee constant sound capture with wireless microphones, think about firmly attaching the transmitter to your clothes using magnets or clips. Usually at 6 to 12 inches from your lips, positioning the microphone at the proper distance helps produce a clear, balanced recording free from distortion.
Eliminating undesired low-frequency noise, including rumbling from air conditioning or footfall, requires low-cut filters—essential instruments. Setting the filter to take out frequencies below 75 Hz or 150 Hz will help to minimize these distractions, therefore producing clearer audio. Using these filters helps your voice to stay clear and strong, therefore producing a more professional-sounding podcast. Your audio's clarity and quality will be much improved by combining correct placement and filtering methods.
Versatility across many devices depends on having many connection choices, including USB-C, Lightning, and 3.5mm TRS outputs. Without adapters or other accessories, this adaptability lets you quickly link your microphone to many recording devices—including cameras, cellphones, and PCs. Making sure your podcasting equipment is compatible improves its usefulness and allows you to simplify your setup.
By monitoring audio in real-time, you can listen to your recording as it occurs and make quick changes to levels or settings as necessary. This feature guarantees quick resolution of any problems with sound quality, therefore avoiding potential disturbances in your podcast. Monitoring helps to ensure constant audio clarity, which contributes to a polished end product, keeping your audience interested all through the program.
Maximizing battery life is essential for uninterrupted podcast recording sessions, especially when on the move. Opt for microphones with long-lasting batteries, such as those offering up to 20 hours of operation for transmitters. To extend usage time, remember to fully charge your equipment before use and carry backup power sources or portable chargers if necessary.
Portability enhances your ability to record podcasts in diverse settings without being restricted by cumbersome equipment. A charging case not only ensures that your devices are always ready but also makes transporting your gear much easier. This convenience allows you to maintain a consistent recording schedule and quality, whether you’re in a studio or recording on location. By prioritizing power and portability, you ensure flexibility and reliability in your podcasting endeavors.
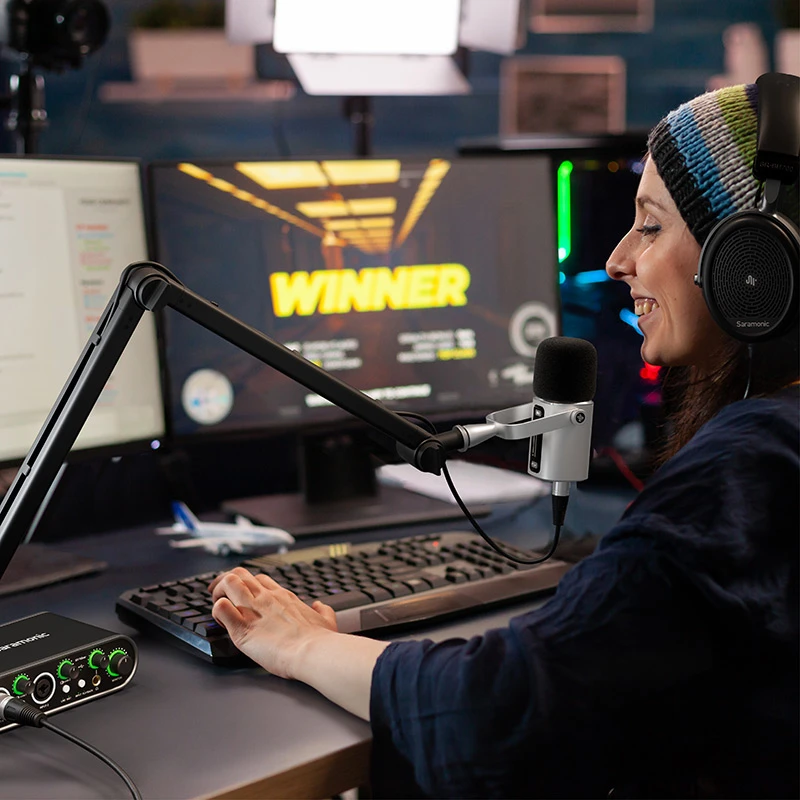
Shifting output settings, such as switching from mono to stereo mode, is necessary to tailor your podcast's sound balance. The mono output would be suitable for single-speaker setups, which offer voice focus and clarity. Stereo could enhance sound depth on multi-speaker podcasts or in the inclusion of music and effects, creating a more engaging listen.
By making use of display data, such as reading from high-resolution OLED screens, you can monitor and adjust main settings with minimal effort. The screens provide real-time tips about level, battery, and connection, which enable you to provide the best possible sound quality during recording. Employing visual clues, you are able to easily make adjustments precisely, which provides maximum sound to the audience. Mastering how to use these settings will get your podcast to sound professional and appealing.