Did you know that the distance between your microphone and a sound source can have a big effect on the sound quality of live events or recordings? When you're recording in a studio or going live on stage, where you put the microphone is very important for getting a clear, balanced sound. You'll learn how different distances affect sound quality, get useful tips that you can use anywhere, and find out how to take your audio gear to the next level. If you learn these rules, the sound quality of any voice or music project will be at its best.
Sound waves are vibrations that travel through air (or other mediums) as pressure changes. When a sound is made, these waves spread out and connect with things and surfaces. Frequency (pitch) and loudness (volume) affect how they behave, such as how far they move and what they sound like when they get to our ears or mics. Low frequencies can go around barriers and often go farther than high frequencies. Soft materials can easily soak up high frequencies.
Sound waves are picked up by microphones and turned into electrical signals. It comes in three main types: ribbon, dynamic, and condenser.
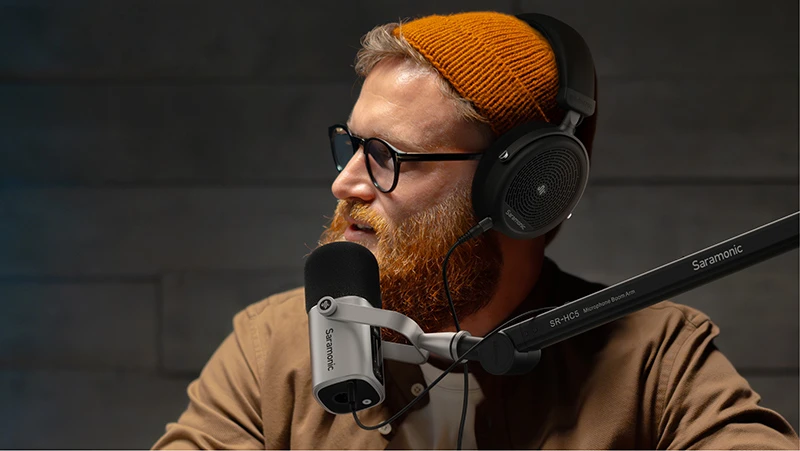
The sound quality is greatly affected by how far away the microphone is from the source of sound. When you put the microphone closer to the sound source, it improves the sound's clarity and presence, recording sounds that are more direct and personal. This can work especially well for voices or solo instruments that need more clarity and immediate sound.
Putting them too close, on the other hand, can cause the closeness effect, which makes low-frequency sounds (bass) louder. This effect can make singing sound warmer, but if you don't use it correctly, it could make the sound muddy. Increasing the distance, on the other hand, lets the microphone pick up more of the room's sound, which gives the recording a feeling of depth and area but might make it less clear and loud.
The environment, including room acoustics, plays an important role in determining how sound is captured. The size and shape of a room and the materials in the room—e.g., carpets, curtains, or hard walls—dictate how sound bounces and echoes. Where there are predominantly hard surfaces in a room, sound reflections can potentially cause echoing that impacts the tonal quality of a recording.
To minimize these reflections, acoustic panels or curtains can be employed to soak up sound. Microphones should not be placed near corners or reflective surfaces in small rooms because these will increase unwanted reverberations. Ambient noise such as air conditioning, traffic, or electronic hums should also be considered. These sources need to be found and minimized in order to have cleaner recordings.
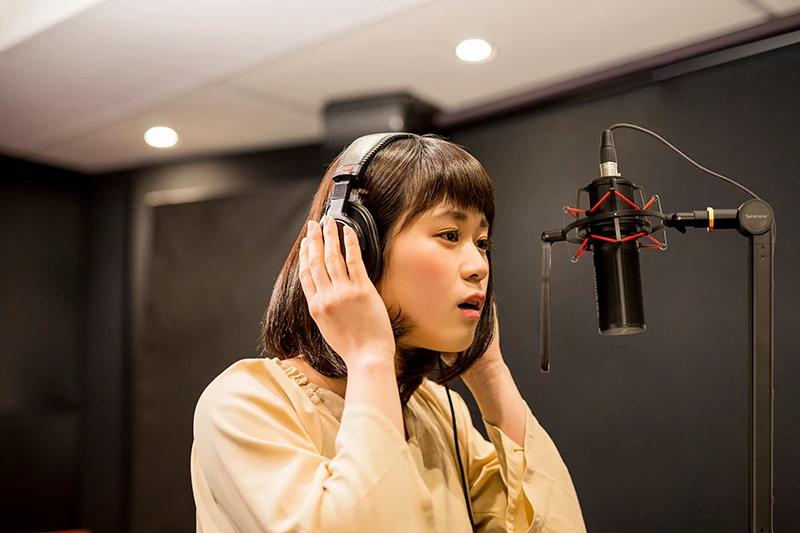
Position the microphone 6-12 inches away, allowing adjustments based on the desired balance between clarity and warmth.
Place the microphone near the sound hole, approximately 6-12 inches away, to achieve a blend of brightness and resonance.

In studio environments, microphone placement is crucial to capturing high-quality audio. Here are some general guidelines:
Effective microphone use in live performances requires strategies to manage acoustics and prevent issues.
A recording can sound much better and have more depth if you use more than one microphone to pick up the sound source from different directions. In this case, using both close microphones and room microphones together creates a mix of direct and natural room acoustics, which makes the sound more realistic and full. Although this is the case, it causes problems, especially with the phases. These include crosstalk from sound waves picked up by different microphones as they crash into each other, making it possible to cancel out or boost frequencies.
It is important to make sure that the mics are all spaced out the same way and to follow the 3:1 rule: each microphone should be three times farther away from the sound source than it is from itself. Finally, phase reverse switches on mixing platforms can fix any leftover phase problems and make the sound balanced.
The best way to record sound is usually to try different places for the mic and see what works best. Because every recording space and sound source is different, tests must be done at different angles and distances to find the best setting. Technology like decibel meters and audio analyzers can help you keep an eye on levels and frequency balance in real time. You can change where your mic is placed to get the best sound quality and creativity by trying out different setups and using these tools.
Distance can have a big effect on sound quality. Because of the closeness effect, putting a microphone too close can affect the sound, while putting it too far away can make the sound weak and far away. It is very important to know the best spacing for each type of instrument or voice.
Not taking into account the acoustics of a room can result in bad records full of annoying reflections and sounds. Hard surfaces can cause too much echo, which can make the sound hard to understand. Always check out the recording room and make any necessary changes. To control sound echoes, use acoustic treatments like panels or curtains.
If you skip sound checks, problems could arise during recording or live shows that you didn't expect. Testing and adjusting your setup ahead of time is important to make sure that everything is balanced and clear. This will keep problems from happening at the last minute and guarantee high-quality sound output.
Understanding the nuances of the placement the microphone can completely enhance your studio and live shows. Keeping in mind proximity problems, environment, and type of sound source makes you tailor your setup to achieve crystal clear and balanced sound recordings. Avoiding some common mistakes with careful readjustment and trials enables you to produce quality sound on every performance. Equipped with such information, you are confidently capable of performing any song or vocal project successfully with quality sound production.